One day workshop making bone awls with flint tools
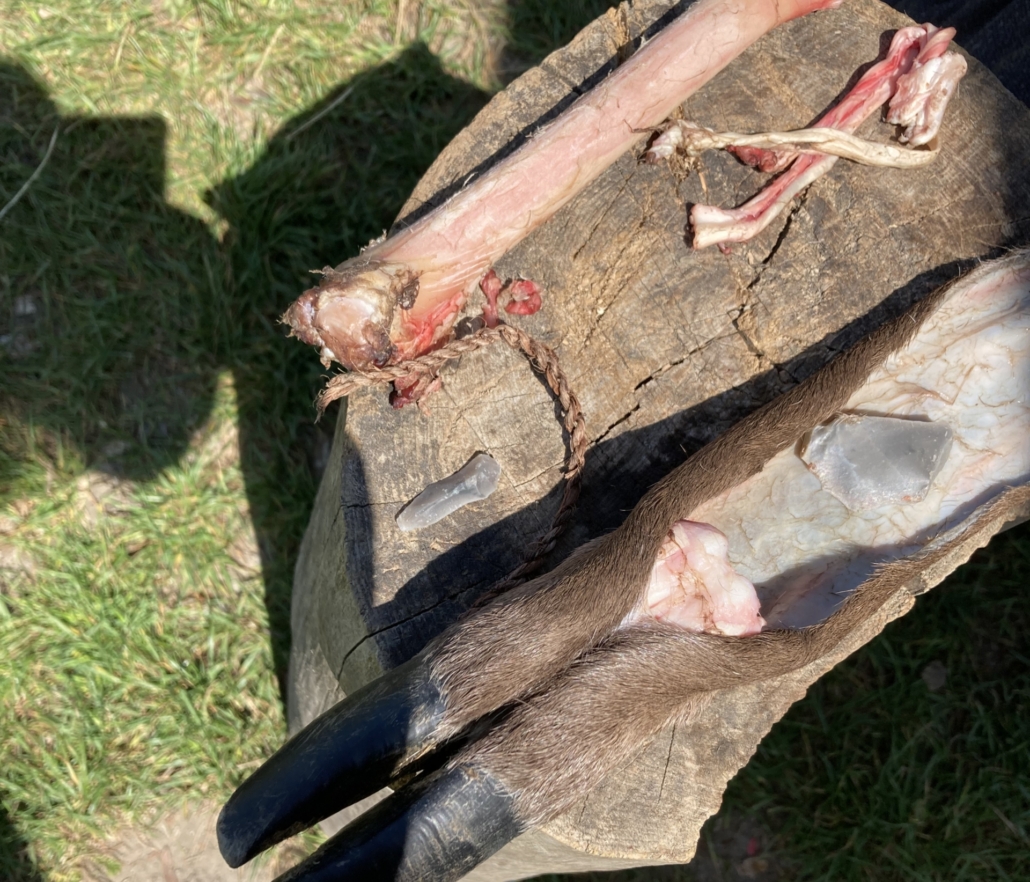
On a hot and sunny Saturday, a group of volunteers gathered in the flintknapping area of Masamuda Archaeological Educational Centre. Their first task: making simple flint flakes to clean out some deer legs. Only one of the participants had knapped flint before, but an hour later everyone had a handful of the necessary tools. These had a wide variety in shape and size and boasted every possible edge angle. So, which one to use to cut the tough deerskin? The sharpest edges of the smoothest, blackest flint tools proved to be the best. These same tools were used to remove the tendons and cut through the ligaments of the joints to free the cannon bones that would provide the material for making the Vlaardingen Culture awls (figure 1). The tendons were cleaned and then dried in the sun for future use as hafting material (figure 2).
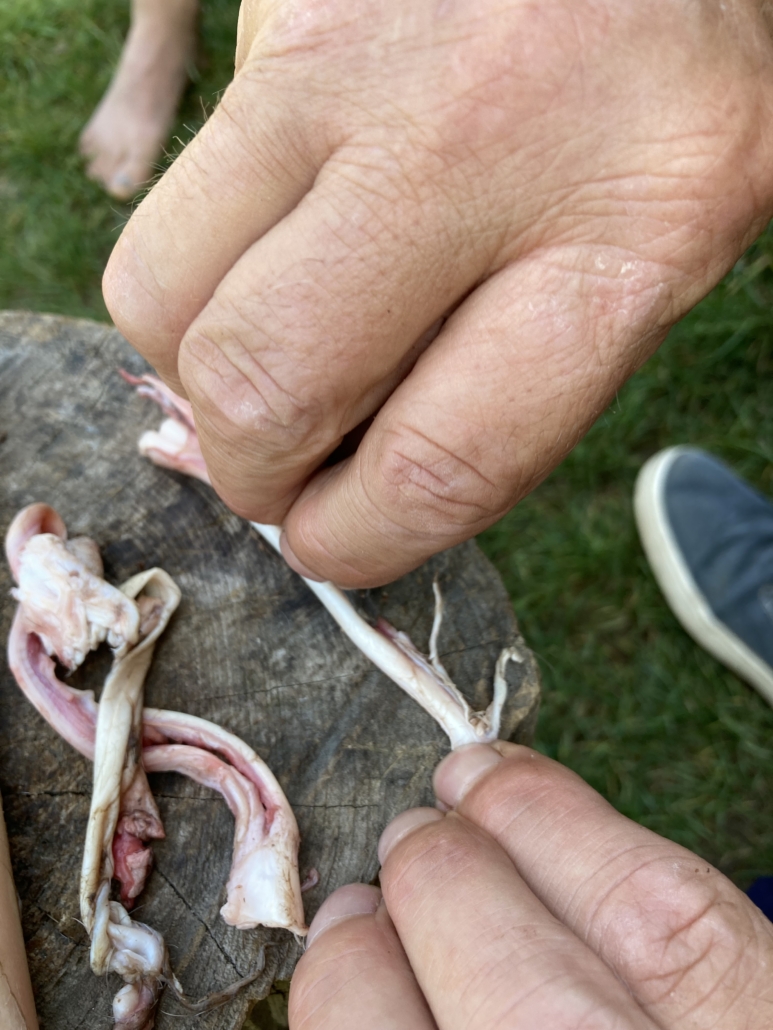
Figure 1: Removing the tendons, (© Diederik Pomstra).
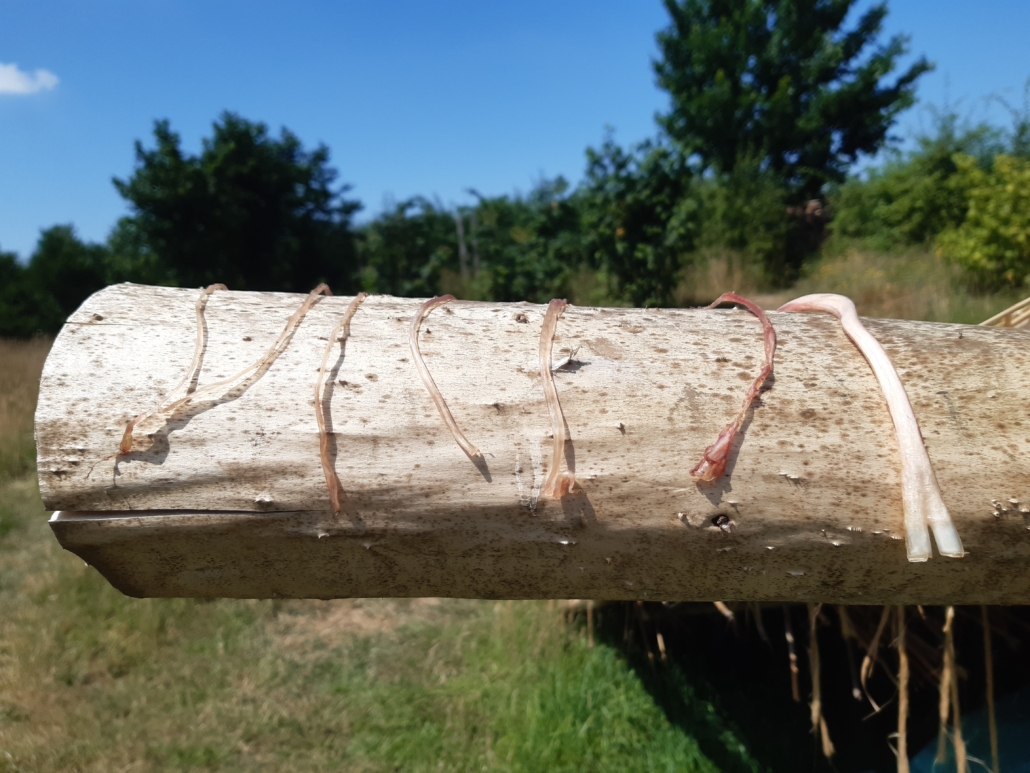
Figure 2: Tendons drying in the sun for future use as hafting material, (© Diederik Pomstra).
A few flakes with edges of 40 – 90 degrees edge angles were used to scrape the bones clean and then the job of removing both ends of the bones began (figure 3). This proved to be most easily done with fairly large flakes of more coarse-grained flint with a comparatively long and straight edge. These cut through the bone until approximately threequarters of the thickness after which the ends were removed with a sharp tap on a piece of wood.
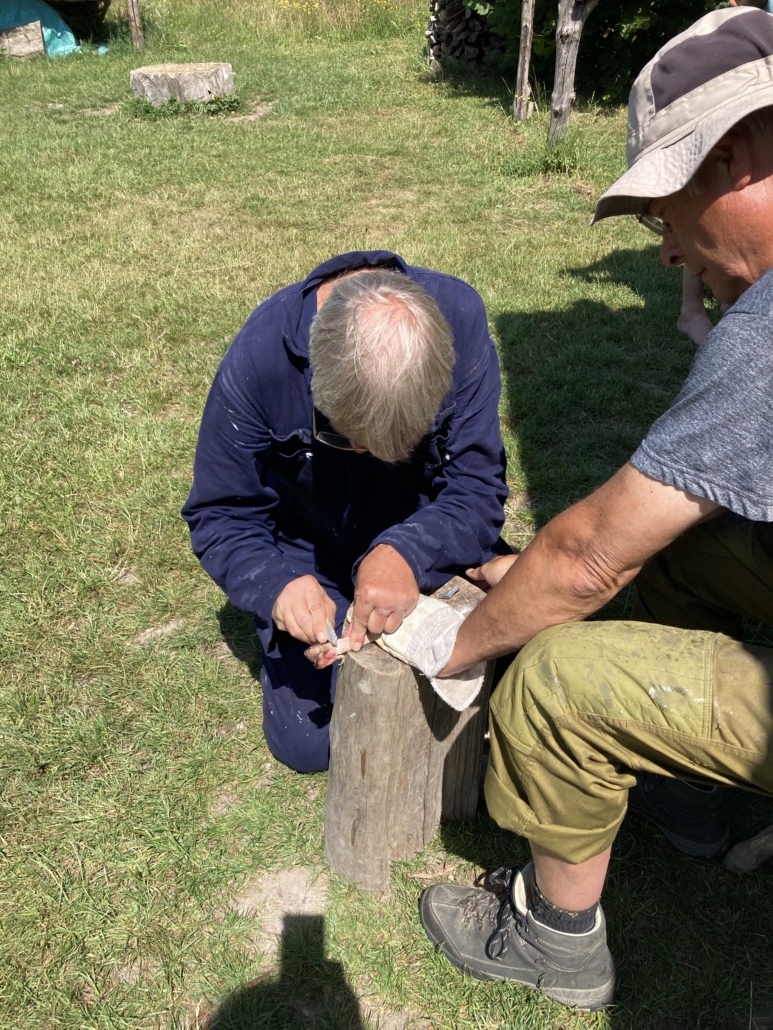
Figure 3: Removing both ends of the bones, (© Diederik Pomstra).
Then we went back to the flintknapping area to make or find suitable tools for deepening the two natural channels along the cannon bone. A sharp, thin point is the best tool for this (see figure 4) and these can simply be found, or made by snapping a blade or breaking a flake between a hammerstone and a stone anvil. Making real burins was still beyond the skill of the participants, but suitable flints were quickly made or found. Armed with these tools, the volunteers returned into the shade to cut the two grooves in the bone. That took some time, but just after teatime the bones were ready to be split. For this work a sharp edge on a flint core was used. The groove in the bone was laid on top of the core’s edge and lightly tapped with a piece of wood to make it split slowly and steadily. Not every bone splits neatly into two, indicating that more time should have been spent deepening the two grooves.
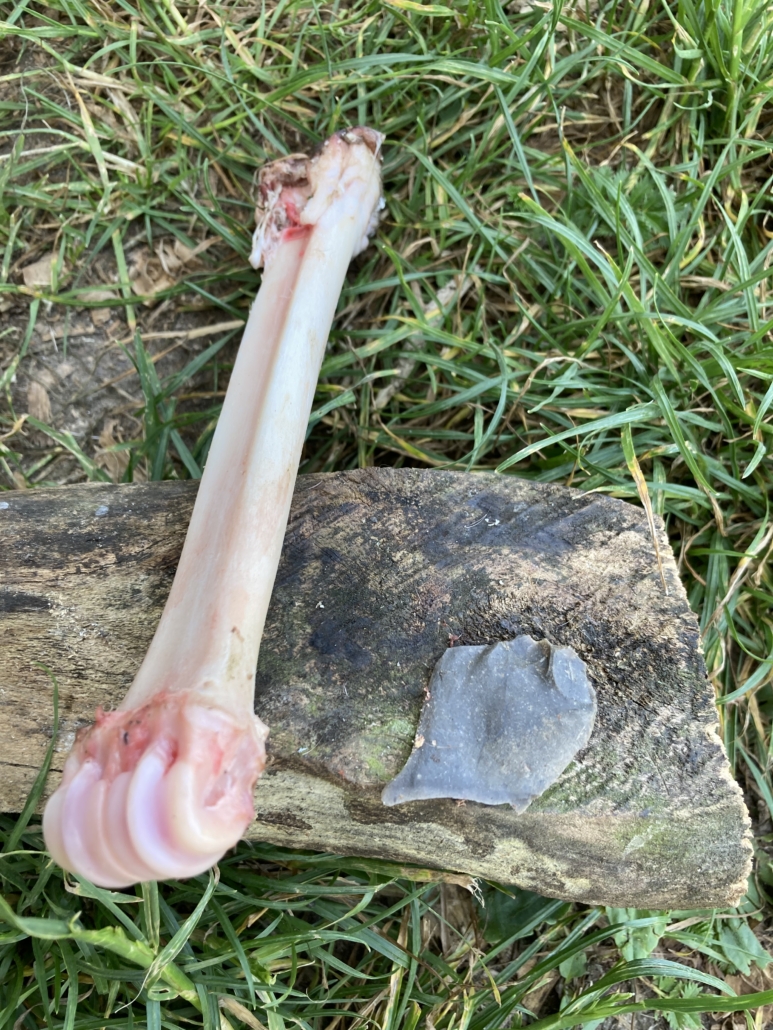
Figure 4: An example of a thin pointed flint (burin) suitable for splitting the bone, (© Diederik Pomstra).
These halves could be split again or the halves themselves could be cut into a point to make a Vlaardingen Culture bone awl. Making the point was done by lightly chopping with sharp edges on flint cores, scraping with a flake with a large edge-angle and grinding on one of the stones that were lying in the immediate area.
At the end of the day, no awls were finished, but that was not the object of the day. The participants learned to make flakes, those all-round and always necessary tools, and learned about which kind of edges were suitable for which kind of work. And all participants had learned some basic bone working techniques. All valuable skills for future work in Masamuda and for doing experiments that will contribute to the goals of the project Putting Life into Neolithic Houses!
Photos and text: Diederik Pomstra
