The dugout canoe, progress report 2: shaping the bottom and the use of wooden wedges
Progress
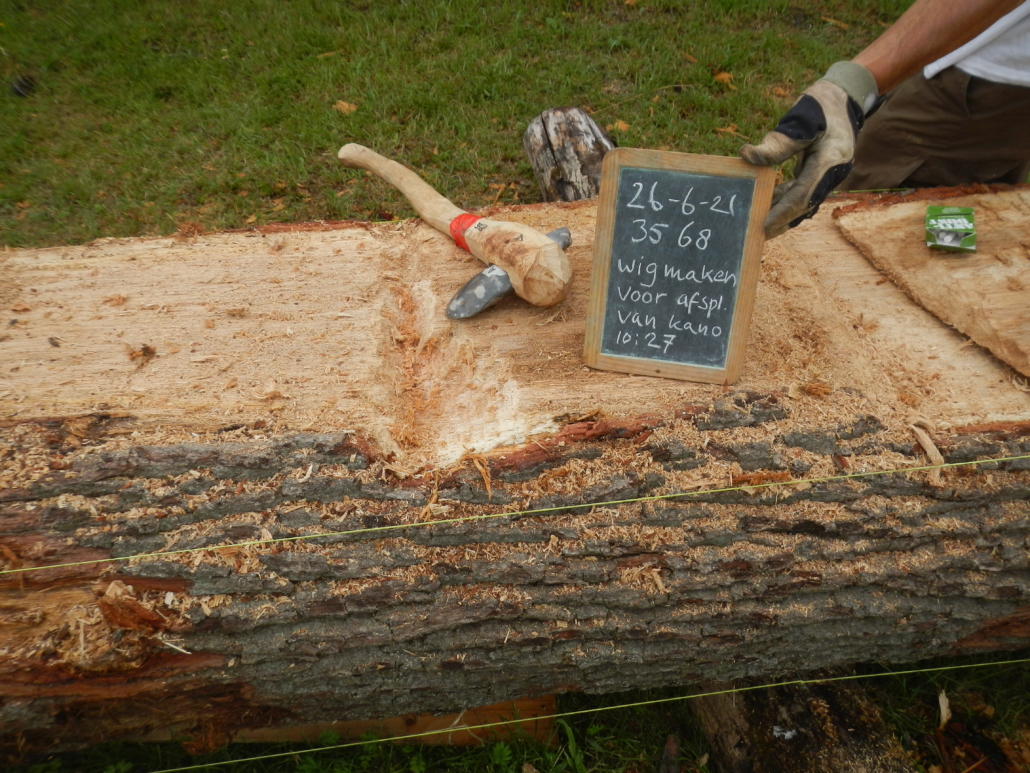
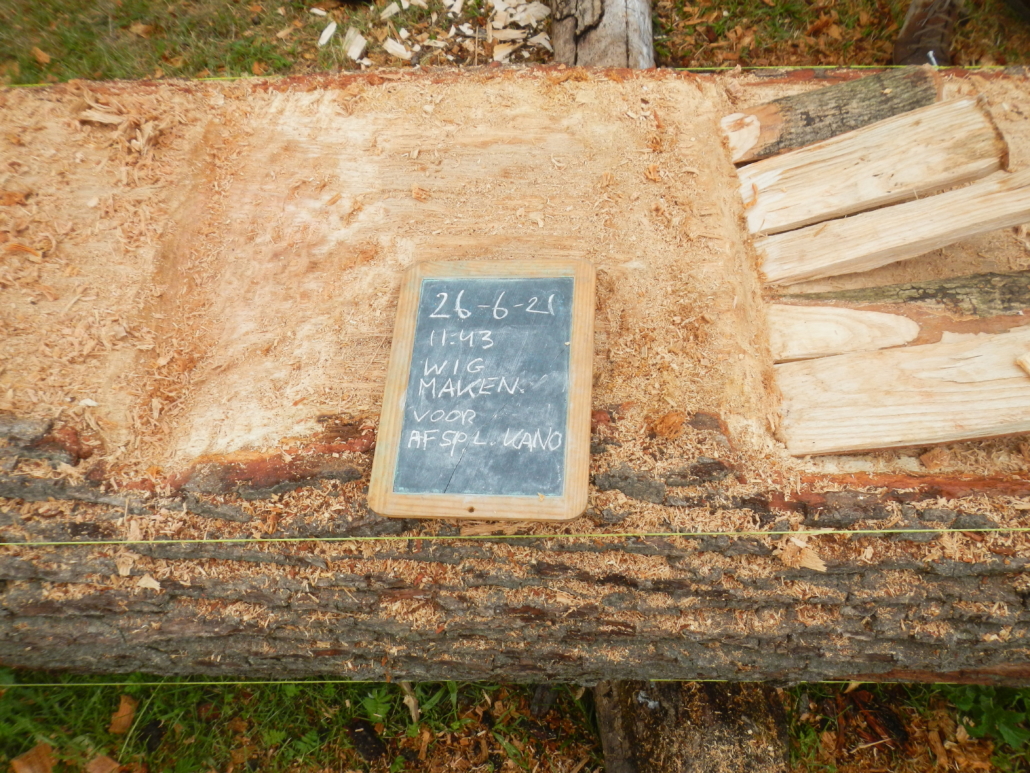
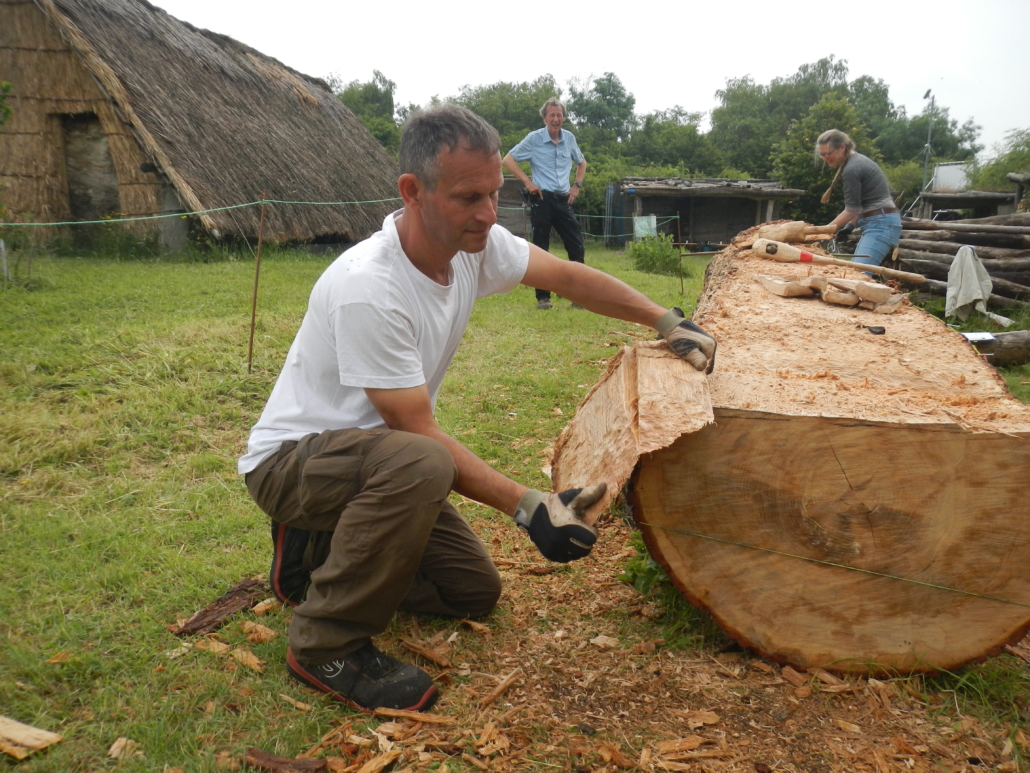
We are making good progress with shaping the dugout’s bottom. However, although chopping the wood is perfectly possible with the big flint axes, it does take a lot of time and above all energy, especially when it is hot! Splitting the wood and removing thick slices goes much faster and is far easier. This is the tactic we have been following. To successfully split the wood it is important to follow the grain and to have a trunk that is free of knots. In the past people must have carefully selected the wood, as the prehistoric canoes that we examined are largely free of knots. Trees are more likely to be free of these when growing in quite a dense forest where side branches would die off quickly, assuring a long stem without branches (and hence without knots). Luckily our oak is (so far…) free of knots.
An alternative way of making wooden wedges
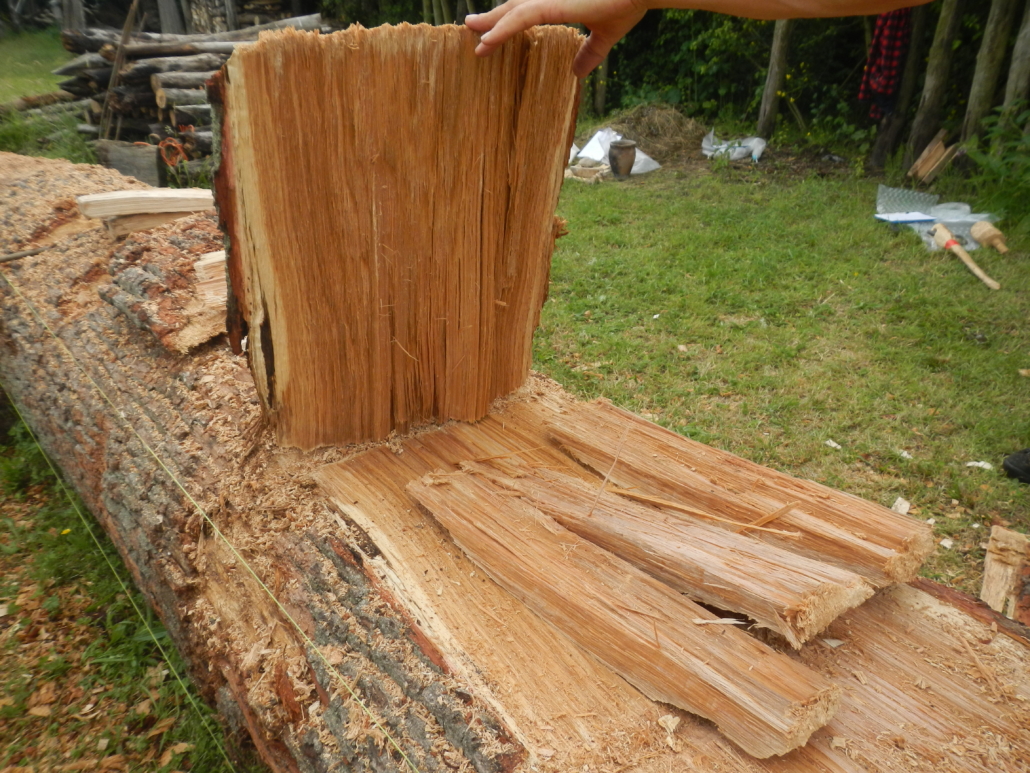
Splitting has speeded up the process considerably, using wooden wedges. Every 40-50 cm a groove is made in the trunk, using an axe (see a picture in the blog of June 23d). With a chisel or adze a shallow incision is then made at the bottom of this groove, into which the wooden wedges can be hammered, using a wooden billet. A few hits and an entire slice of wood comes loose. Unfortunately, the wooden wedges break quickly after a few times of use and in the past we then re-sharpened them. We noticed that the slices of wood we take off the tree are almost a wedge already, but need reworking to give them a sharp edge. This is almost impossible with a flint axe. I therefore made, before splitting off the slice of wood, a tapering edge on one end, using a flint axe. Doing so while the slice is still attached to the trunk is very quick and easy. When the slice is split off, you end up with a nice sharp edge on its tapering end. You then split the slice in three and you have three perfectly sharp wedges! A very economical and fast way of continuing to produce effective wooden wedges!
Making wedges step 1: with a stone axe chopping a tapering end on one side of the slice of wood to be removed from the trunk.
Making wedges step 2: inserting wedges under the slice to be removed.
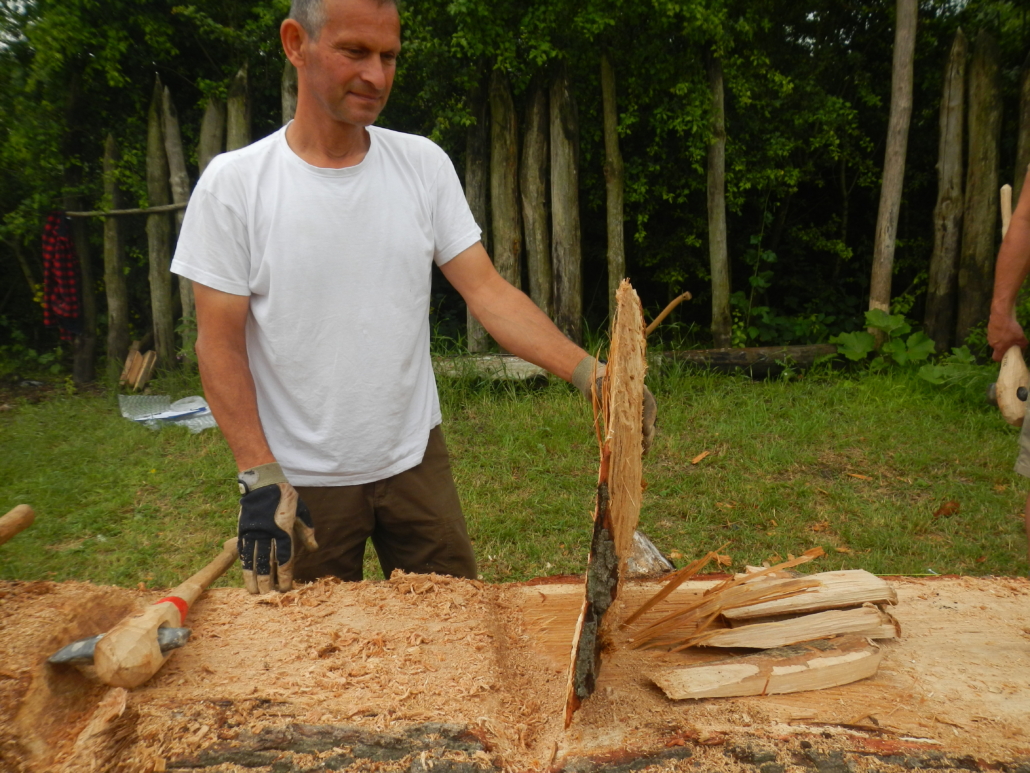
Making wedges step 3: removing the slice split wood from the trunk.
Making wedges step 4: splitting the slice of wood into three wedges.
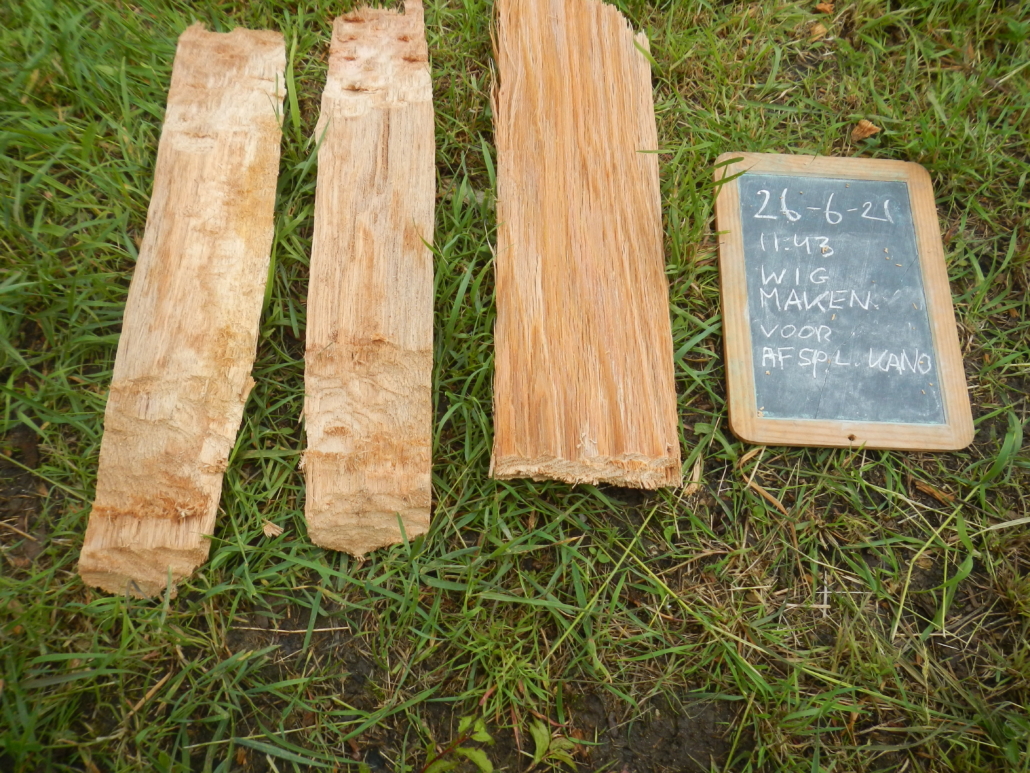
Making wedges step 5: the three wedges ready for use.
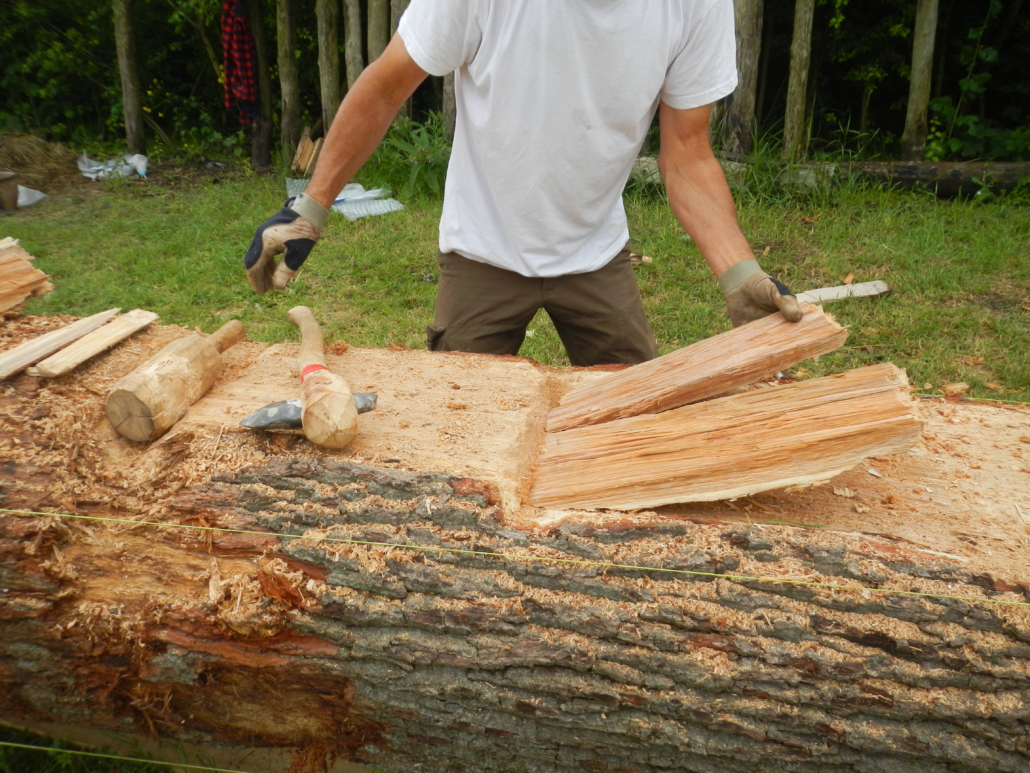
Using the wedges made from a previous slice to remove the next slice from the tree trunk.
The slice of wood removed with the wedges made of previous slices.
By Leo Wolterbeek

 Yuri van Koeveringe